タイヤ交換の流れ
step
01
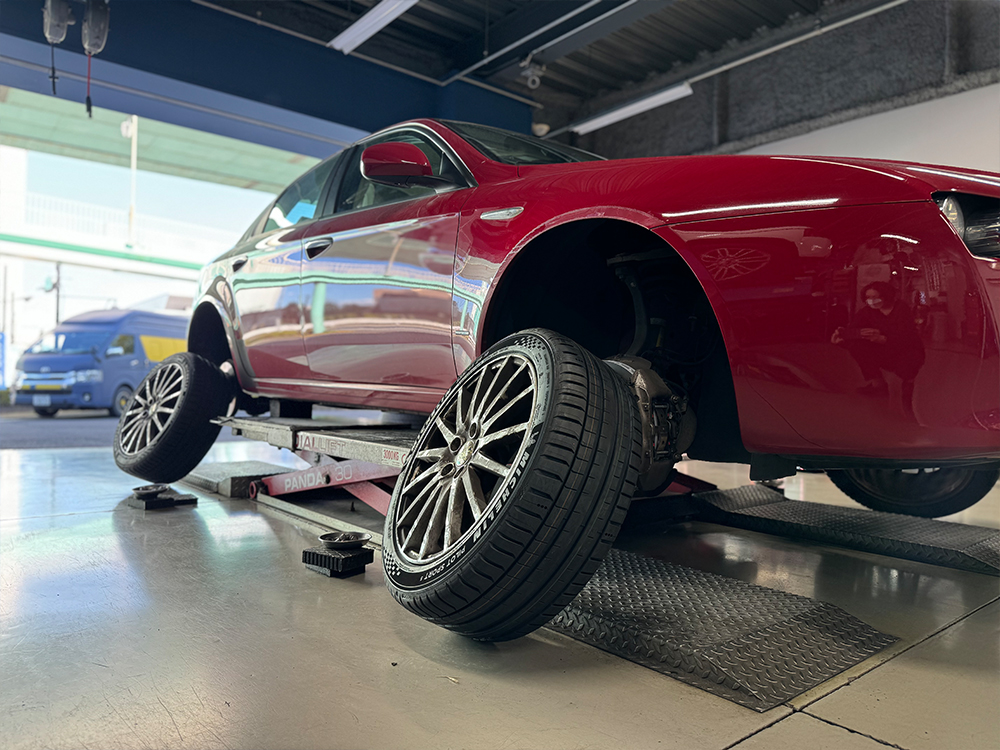
車輌をピットに入れリフトアップ
お車に合わせたジャッキアップポイントの確認します
step
02
車輌からタイヤを外す
step
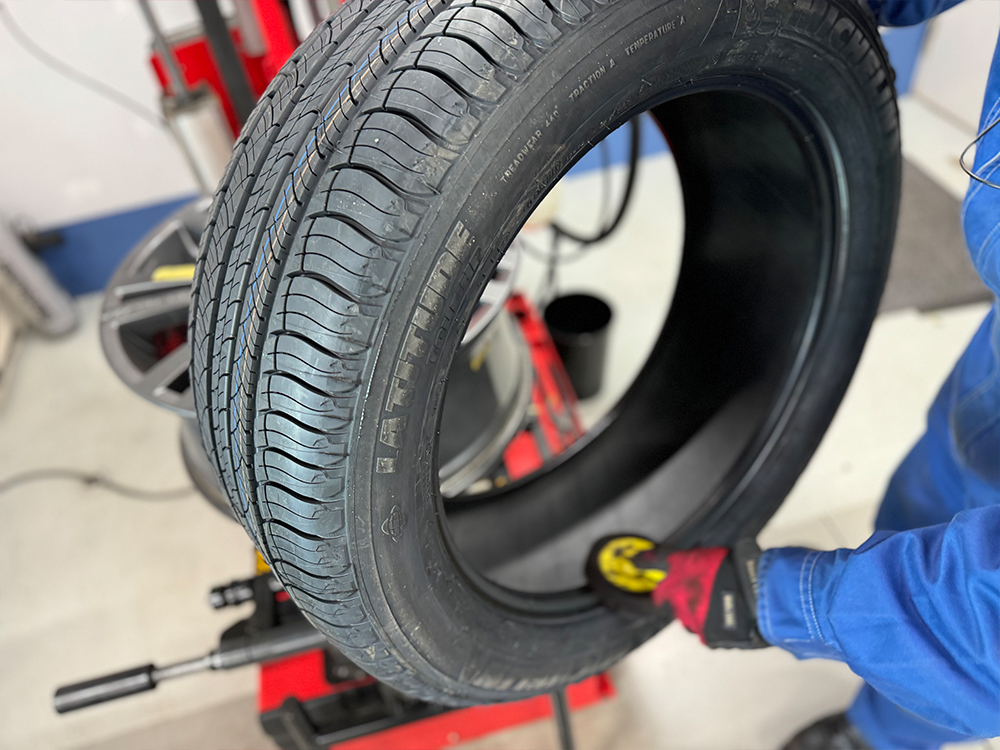
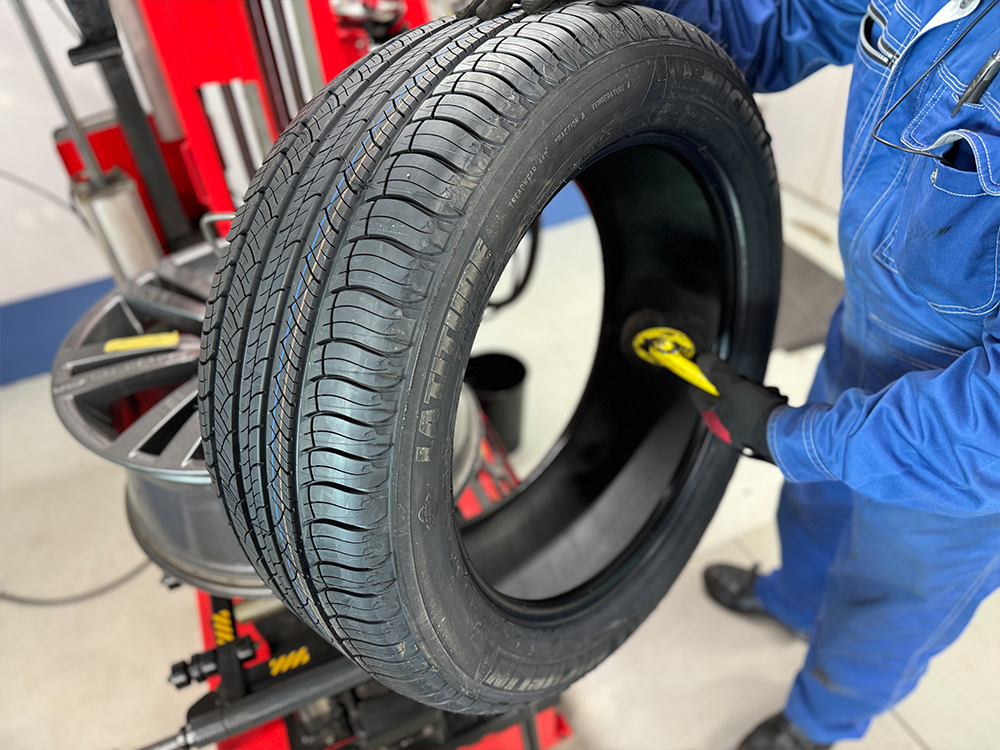
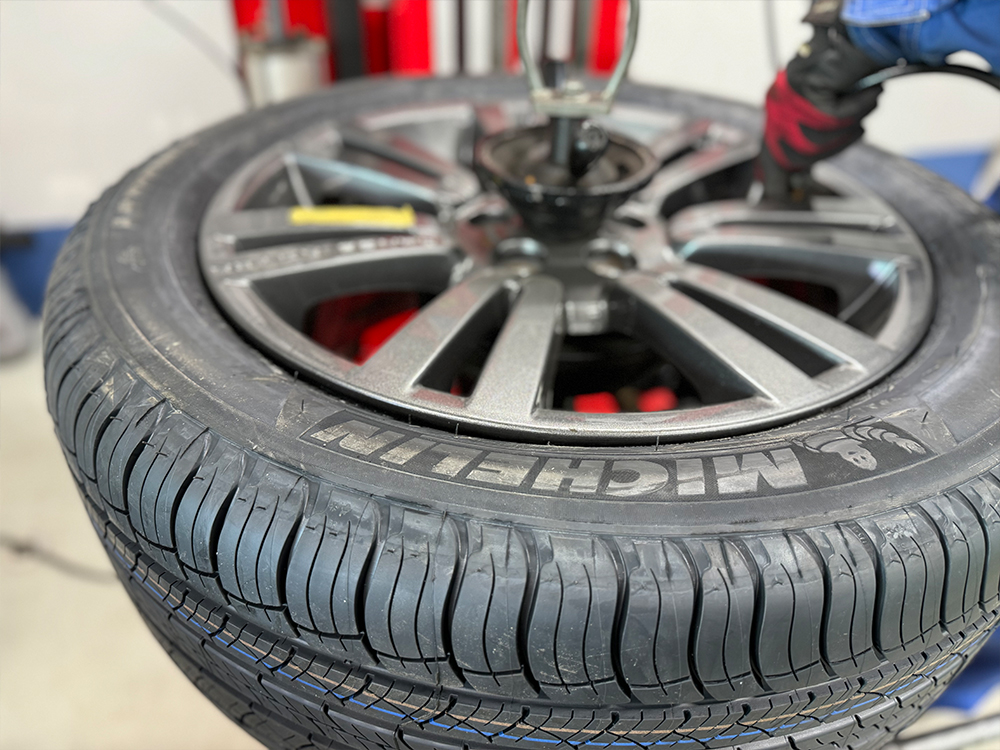
03
タイヤチェンジャーにセットしホイールからタイヤを外す
お客様の大切なホイールを傷つけぬよう細心の注意を払っています
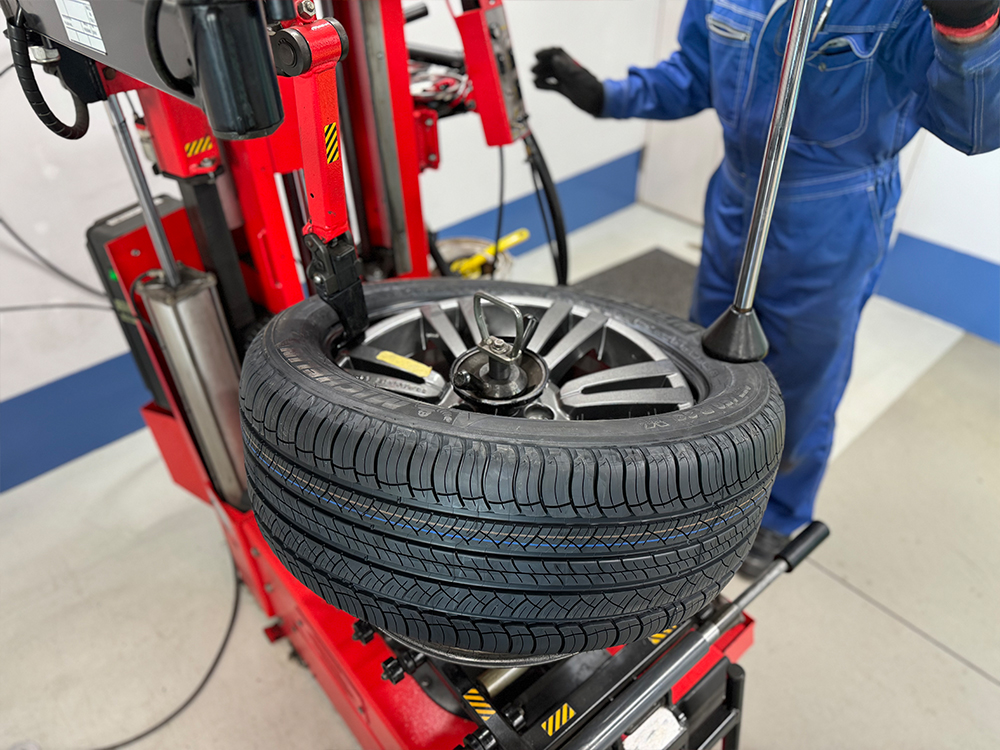
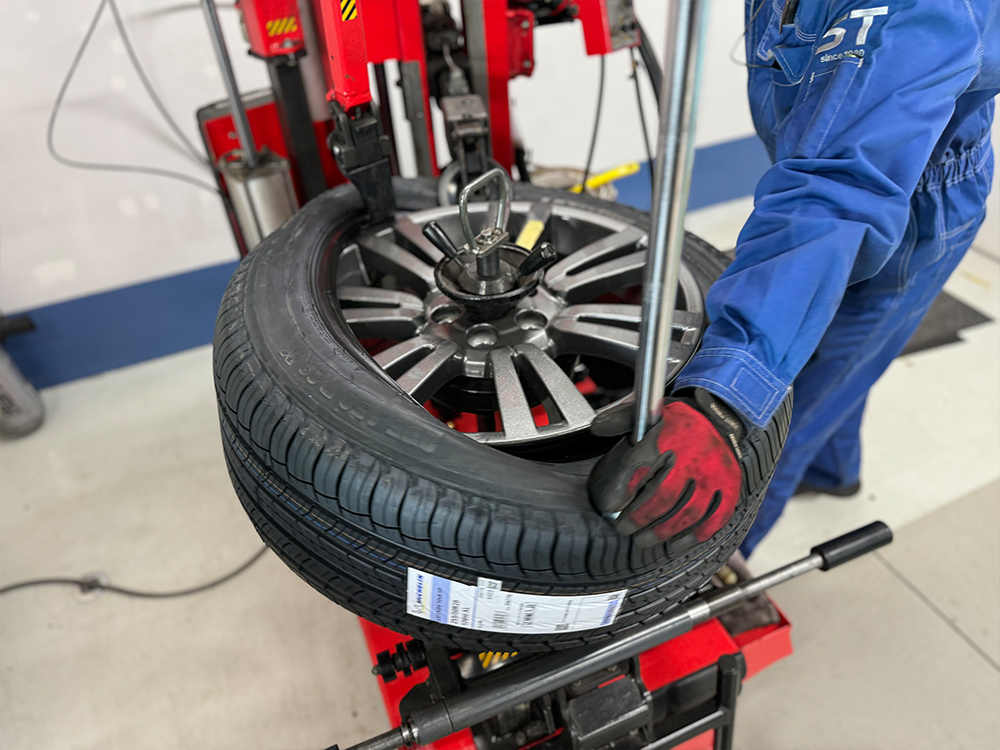
step
04
タイヤとホイールをセット
組込時ビード部(ホイールとの固定部分)の破損を防ぐため専用のクリームを塗布します
step
05
空気圧/ホイールバランスの調整
タイヤとホイールを組付けた状態で、ウエイトをつけ全体のバランスを調整します
タイヤもホイールも真円ではないため微細な重量誤差があります。ウエイトをつけ全体のバランスを調整します
step
06
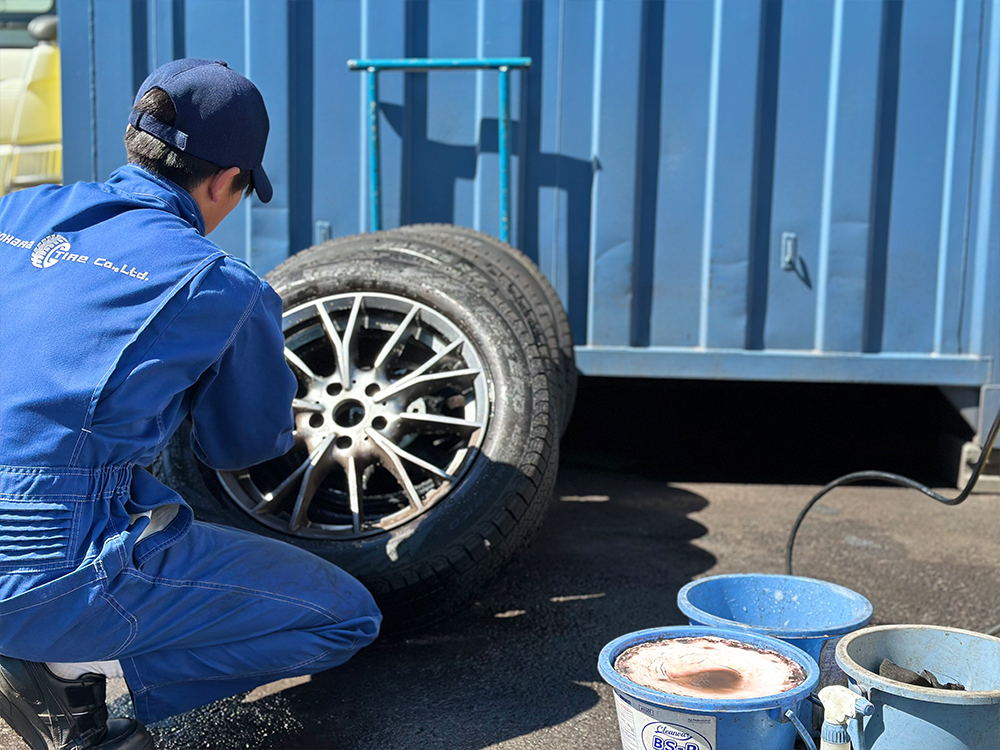
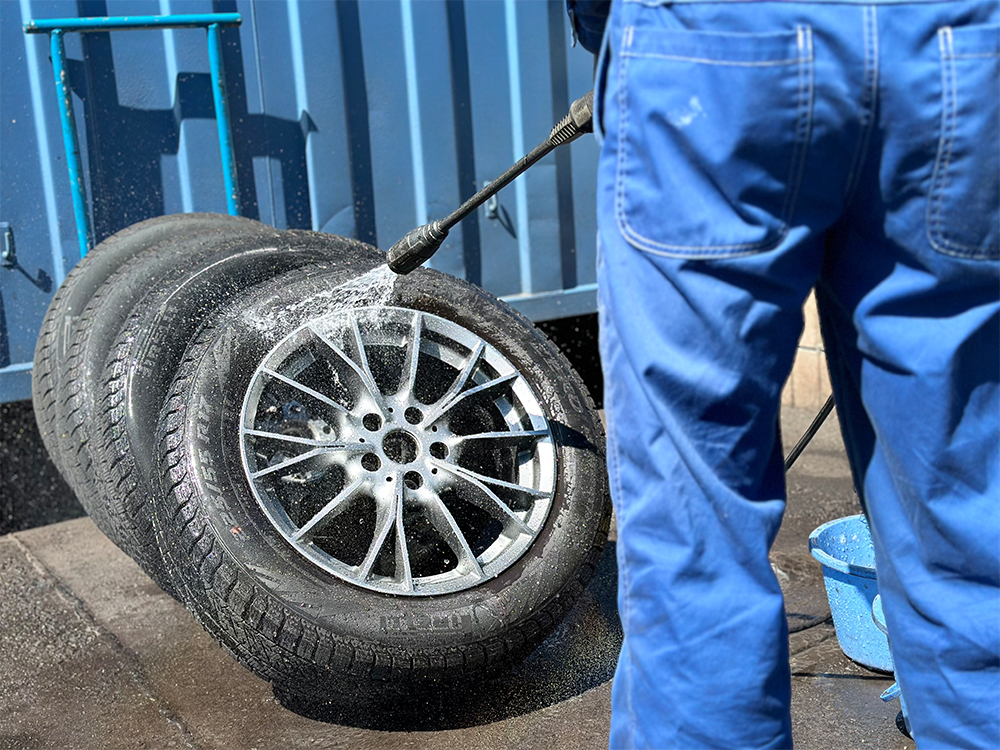
ホイールの清掃
おしゃれは足元から
タイヤも新しく、ホイールもピカピカに!
step
07
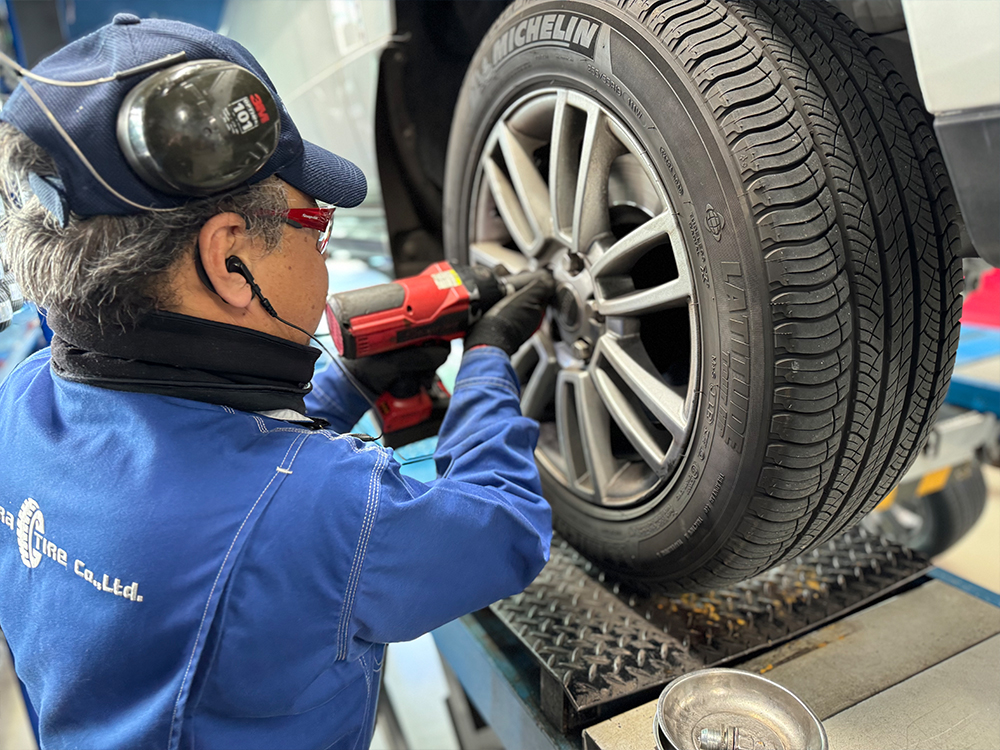
車輌へ装着
トラック・乗用車に関わらず、車輌ごとに適正なトルク(強さ)が決まっているので、専用工具で締め付けます
GALLERY